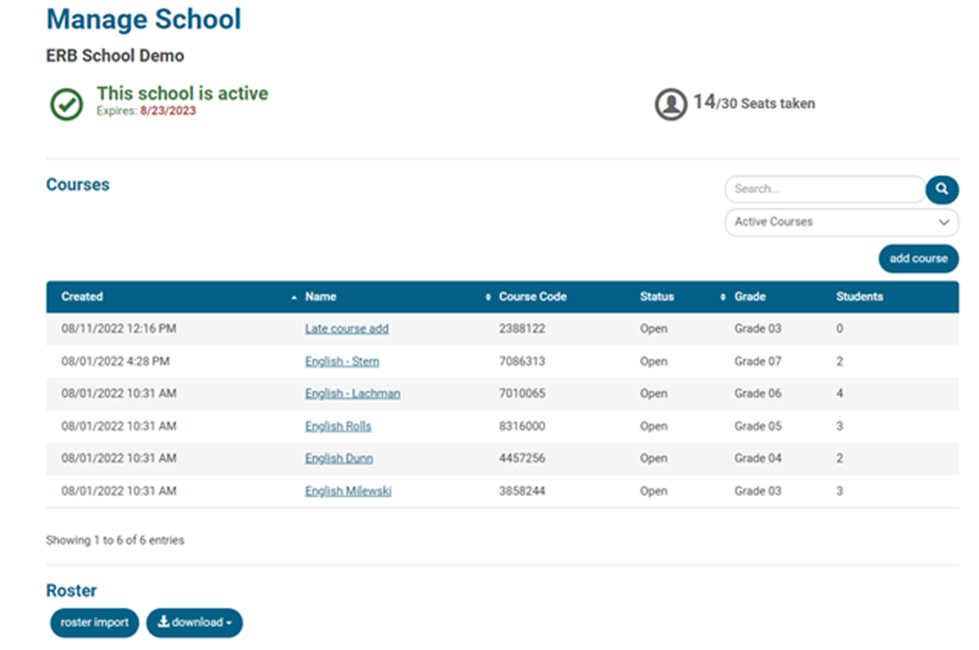
Scroll down to the bottom of the Courses tab and find the Roster section.
Click the Download button and download a copy of the blank roster template.
Follow steps 1 and 2 on the Instructions tab to complete the roster.
Save the completed roster and return to Writing Practice.
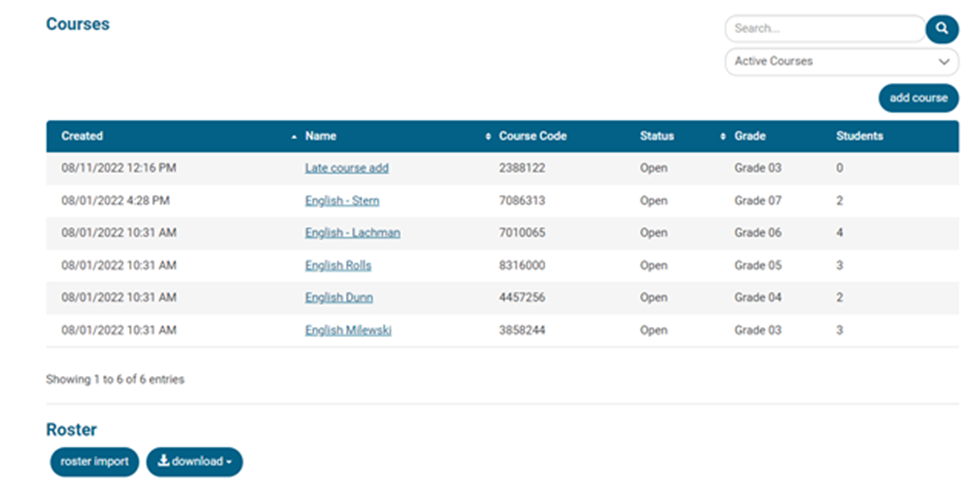
On the Courses tab, scroll back down to the Roster section and click the Roster Import button.
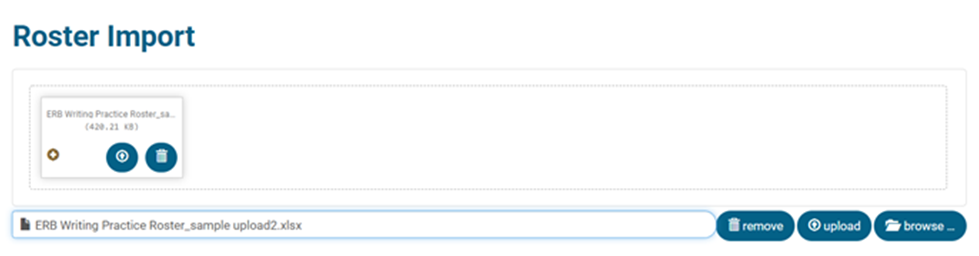
Browse your files and insert the roster that was just completed. Click Upload.
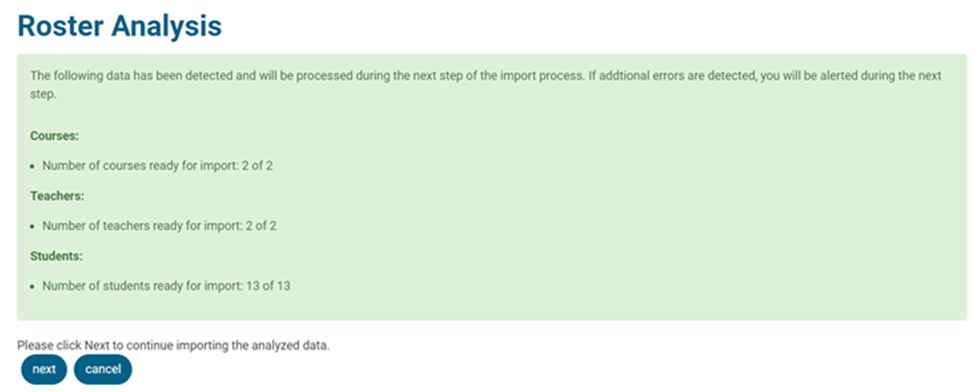
Review the Roster Analysis page to make sure that what is displayed accurately represents what you have filled out on the roster.
If everything looks good, proceed with the import by clicking Next.
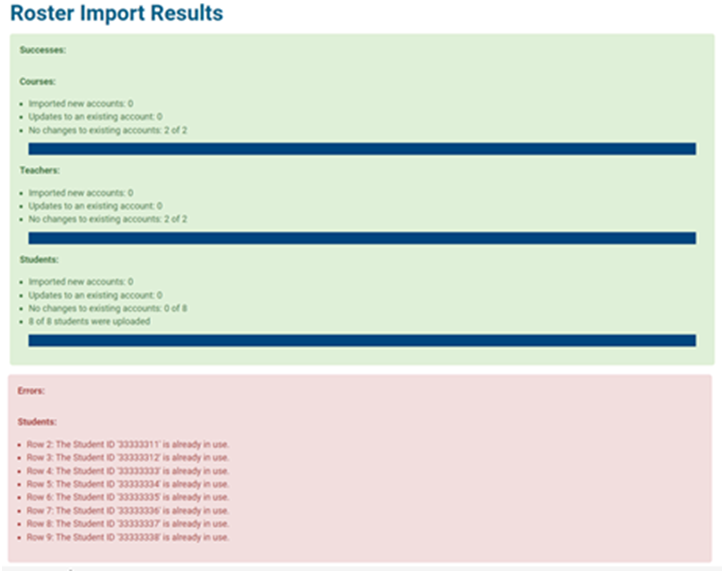
Once the import is complete, double check to make sure everything imported properly. If any errors occurred, they will also appear on the Roster Import Results page. Please address these issues and then import the corrected roster if necessary.
Once everything is complete, click the Close button or Back to School, and verify that the new seat total and courses list is accurate, if courses were created and students were added to them during the roster import process.
If no courses were imported by the roster, you will need to notify your teachers that they should create their own courses. They can create as many courses as needed and then add the corresponding students.