
To take advantage of the Peer Review feature, you first need to set up Peer Review groups.
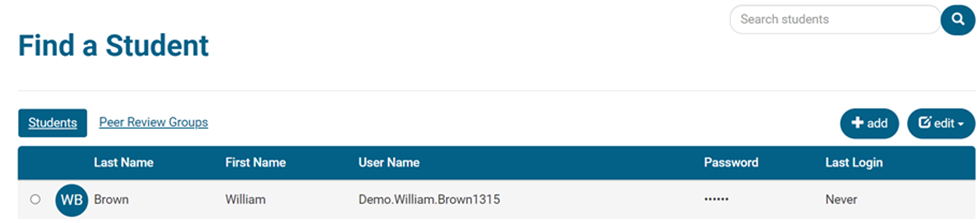
On the Students tab, click on Peer Review Groups.
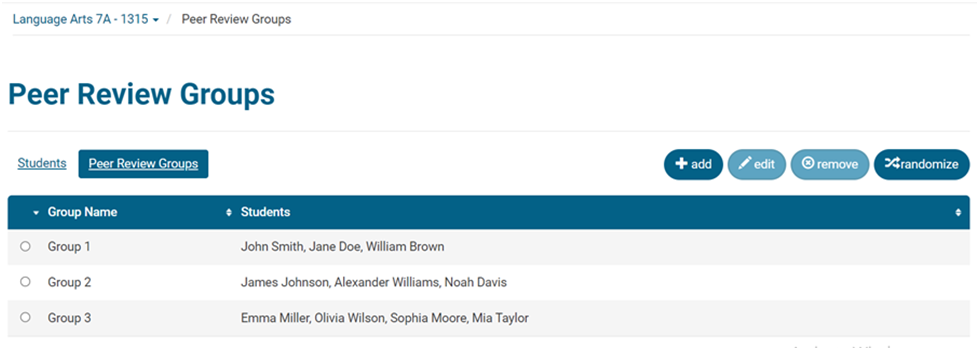
There are two options to set up your peer review groups.
Option 1 – Random Groups
1. Click Randomize on the right side of the screen.
2. Choose a minimum group size in the drop-down menu. Then click Create Groups.
- This will randomly assign students in your course to peer review groups.

Option 2 – Create Groups
1. Click + Add.

2. Name the group. Click in the Students box to choose students to add to the group.
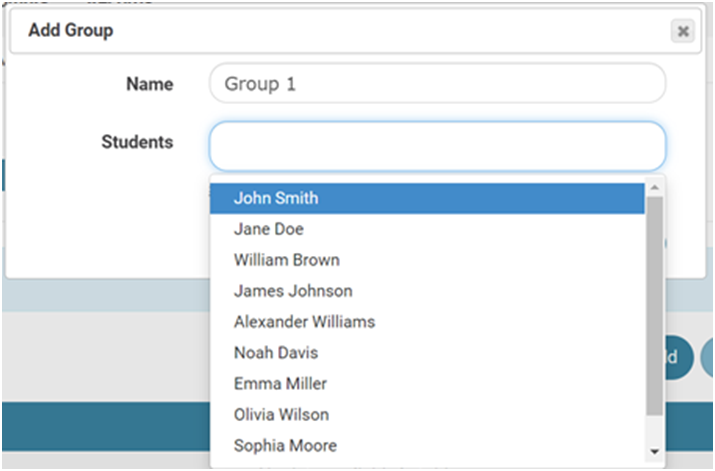
3. Click Add.

4. Repeat this to create additional peer review groups.
You can also edit peer review groups to change the group name or add or remove students.
1. Click the circle next to the group name and click Edit.

2. Edit the group name, if desired.
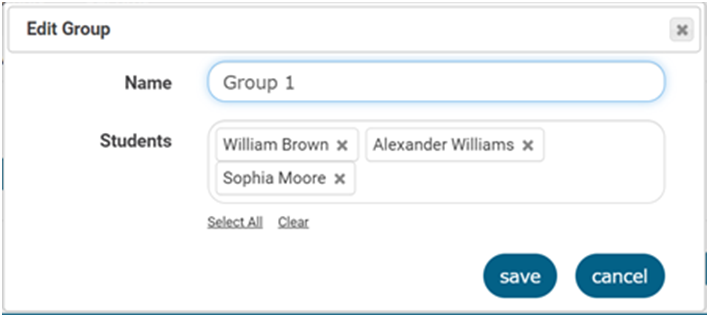
3. To remove a student from a group, click the X next to their name.
4. To add a student to a group, click in the Students box and click on the student’s name.
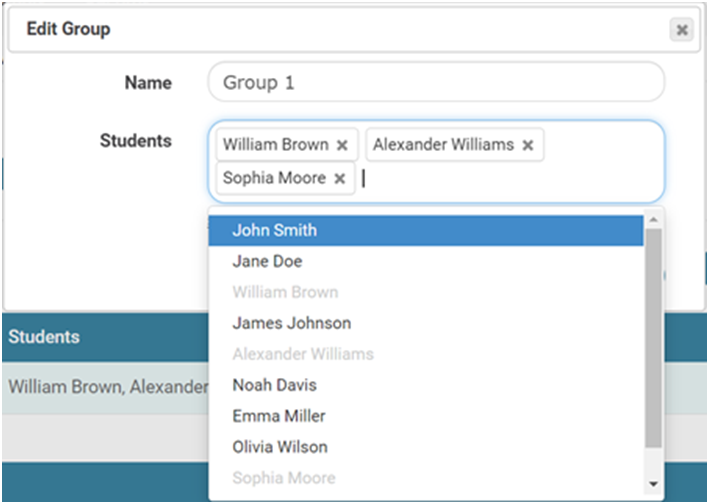
5. Click Save to save the changes.
Once your peer review groups are set up, when a student requests peer review of an essay draft, the draft will be available to members of their peer review group.